Cooking here is:

My photo
First food I have ever made was from the Sesame Street book and I was maybe 7 years old, It was a damn good soup!
Showing posts with label Sweet. Show all posts

Saturday, August 20, 2011

Little and delicious pastry puffs - mini, sexy eclairs

Long time no see!!!!
I have been lazy and busy at the same time, I haven't given enough love to my blog and my dear friends.
So I promised myself it won't happen again!
I feel very bad about the culinary gap I made here, so the only way to make it up is to try to bribe you a little with a dessert.
I really have to catch up with all delicious the things I have made during the summer, post it and hope you will forgive my silence.

I will start with pastry puffs filled with blueberry cream and dipped in chocolate, it's a yummmy twist on a classic eclairs.
The recipe is easy like 1-2-3 and versatile, so as always sky is the limit!!
Make it sweet, make it savory, make it small or big, make it classic or add your own spin. Use the ingredients you have on hand or plan it ahead. Doesn't really matter as long as you : make it, share it and enjoy it! 


you need:
2 small saucepans
whisk or wooden spoon
2 storage bags or piping bag with round plain tip
cooling rack
2 bowls
2 baking sheets
parchment paper

ingredients:


pastry puffs:
1 cup water
1/2 cup unsalted butter
4 eggs
1/2 tablespoon sugar
1 cup all-purpose flour
pinch of salt

blueberry cream:
1/2 cup heavy cream
2-3 tablespoons sugar
2 cups fresh blueberries
1-2 tablespoons blueberry jam

chocolate ganache:
1,1/2 cup bitter-sweet chocolate
2-3 tablespoons unsalted butter


Start with the pastry. Preheat oven to 425°F (~220° C ). In a small saucepan bring the water to a boil, add the butter and let it melt next add sugar and pinch of salt. Remove from the heat and stir in 1 cup flour. Make sure there is no lumps and the mixture holds together.


Add eggs, one by one, mixing very well after each addition.


At this point batter will become more sticky and gooey.


Transfer the batter to a storage bag, cut the corner with scissors, or use a professional piping bag with a big, round, plain tip, or combine a storage bag with the removable piping tip (I'm using this trick to fill up the puffs with cream). Line your baking sheets with parchment paper and begin piping! Shape is really up to you, I made little balls for a one bite-sized treat.


Place them in rows like little soldiers, remember to leave some ''puffing'' space about 1 inch.


Use a bit of cold water on your finger to smooth and shape the tops of your little ''soon- to-be-golden puffs''.
Bake them for 10 minutes at 425°F (~220° C ), next reduce the oven temperature to 350°F (~ 180° C) and bake until golden-brown for another 20-25 minutes. If  you decide to bake both batches at the same time make sure to switch the trays during the 2nd  stage of baking, so they will get golden-brown evenly.


When ready, let cool on a wire rack before filling them up. Puffs should feel light and empty inside.


Now when your tiny, golden goodies are cooling down, time to make the blueberry cream. It's very easy and the filling can be made from almost any fruits, or jams, chocolate creams, or just classic whipped cream . You can fill them up with savory fillings f.e: salmon and cream cheese, or cream cheese and herbs, or duck pate with cranberry sauce! Again use your favorite ingredients to make this tasty treat the way YOU like the most!

Ok, so back to the buisness. In a small saucepan bring blueberries and the jam to a boil, reduce the heat and make most of the water evaporate, creating a deep colored jam. Let it cool. 
In a bowl whisk the heavy cream and sugar until stiff. Slowly add blueberry jam folding gently, until cream blends together.
Transfer into piping bag with a round, small tip.


Squeeze a teaspoon (more or less, you will feel when the puff is full) of this delicious cream into each puff,  I think best place to do it is actually the top, because later on you will dip it in the chocolate ganache, covering the little hole.


Last but not least is to make the chocolate ganache. I make it 2 different ways... both extremely easy. The only difference is the thickness. You can use a method called double boiling : set a heat-proof bowl on top of a saucepan with a boiling water at the bottom, add chocolate and stir it with silicon spatula until it melts. Add a tablespoon or two of butter to prevent curdling and keep it shiny.


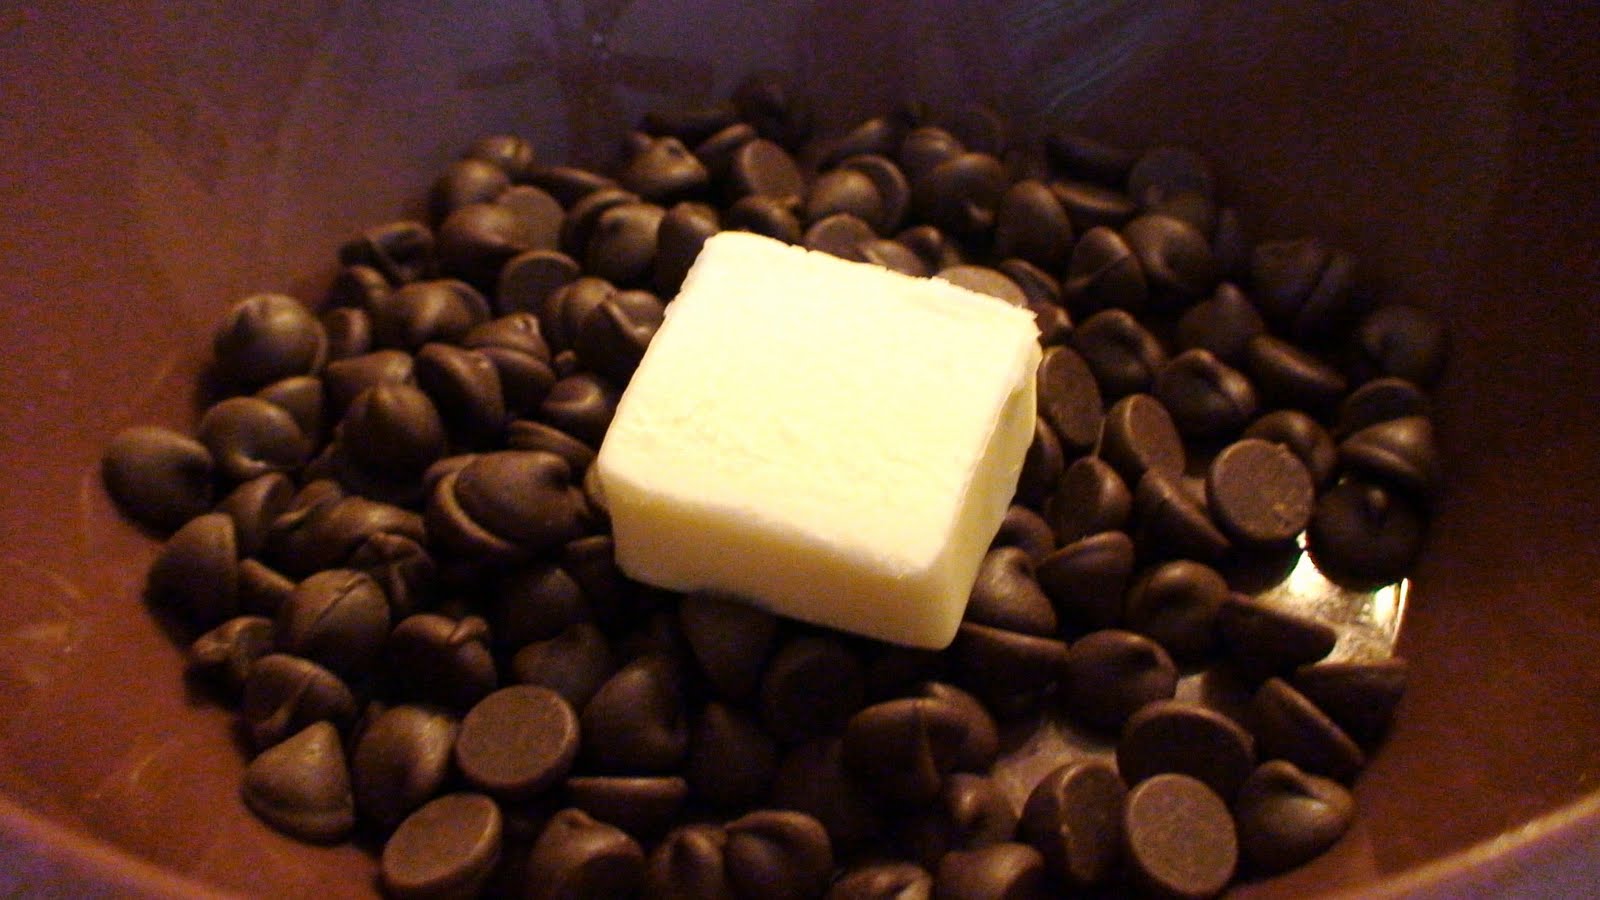
Instead of  saucepan and stove, the easy way is to put the bowl with chocolate pieces into microwave, and set the timer for 2-2.5 minutes, add butter and during the cooking time open the microwave and stir the chocolate several times, tempering it, this way the chocolate will stay glossy and shiny. 
the second  method is to add almost boiling heavy cream to a bowl with chocolate and melt it this way, stirring constantly. It's up to you which method to gonna use.
When the chocolate ganache is ready start dipping, the pastry puffs in it! It's a lot of fun and gives that gourmet finish to the dessert. The glossy look, the creamy filling, the little puffy texture, that is seriously heaven. You really MUST try this!


Thursday, June 23, 2011

Strawberry Shortcake with a twist!

OK, I was totally lazy last couple of weeks and didn't post anything here. But it doesn't mean I wasn't cooking or taking pictures, so one day I can share all with you.

I was pretty busy and made many deliciously scrumptious meals!!

It's a glorious strawberry season, so we try to get most of it.
Yes, yes now it's time to buy them, eat them, freeze them, jar them, ENJOY them!

So we've gone wild.. not 100% but still, instead of buying them in the supermarket or farmer's market, we decided to go to a farm, pick them ourselves straight from the bush. By the way they should weight people before and after and charged them by that too, not only for what they have in the baskets.

So big part of our harvest ended up in the freezer ( perfect for frozen fruity smoothies we drink all summer long, and with a dash of milk transforms into super home-made shake ).
All the others ended up in an american classic Strawberry Shortcake but with a herbal twist (that I did first time in my life).
I have to say I didn't expect it to be a hit but it really is, considering that it's made in less than an hour, tastes wonderfully fresh and I cut the sugar in half, letting the natural sweetness of strawberries shine through.


you need:
8 inch ( about 20 cm) round cake pan, can be pie dish 
food processor with the blades ( if u don't have it use a big bowl and a knife or your hands )
mixer or whisk
bowl
cutting board and knife to trim and cut strawberries
cooling rack (not necessary)


ingredients:
3 cups fresh strawberries
2-3 teaspoons of fresh thyme
2 1/4 cups all-purpose flour
4 teaspoons baking powder
2 tablespoons white sugar
1 teaspoon vanilla extract
1/2 teaspoon salt
1/3 cup butter or shortening (lard)
1 egg
2/3 cup milk
1 cup heavy cream
1 tablespoon sugar
1 container (170-200g)  light vanilla yogurt


The process to make a shortcake is very easy and fast, can be used for desserts but also savory dishes.
To make it super easy and mess- free I use a food processor to make the dough ( this is the easiest way to mix shortbread dough as well as any kind of pie or tart dough ).
If you don't have a food processor use a big bowl and a knife to cut the ingredients, this way combining them together.
So, to my food processor with the blades I added the flour, sugar, salt and baking powder. Pulse it for few seconds to combine. Next add the butter or shortening and again pulse until little crumbs start to form.


Whisk in the separate bowl a room temperature egg with vanilla extract and slowly add to your flour mixture.
And later add the milk ( you can use whole milk as well as skim milk ), mix it until just combine.


The dough should be sticky but not wet, pretty fluffy and easy to form.
Grease the cake pan and sprinkle it with the flour so the shortcake will not stick to it and get burned. Press the dough in, making an even layer.


Bake in a preheated oven at 425° F ( 220° C ) for 15-20 min. until golden brown on top.
Let it cool down on a cooling rack before cutting in half.


While your cake is cooling down a slowly resting on a rack. Start cutting and timing the strawberries and whipping the heavy cream with the vanilla yogurt and a tablespoon of sugar. Use cold heavy cream and yogurt this way they whip better becoming stiff but fluffy. Use it cool, so once whipped put back the the fridge.

Strawberries can be cut in any shape you like, I mix them with fresh thyme, it gives a one of the kind fragrance and taste. It brings a good strawberry shortcake into totally different level of lusciousness. You can use also mint or lemon zest for the extra ZING! 


Assemble the cake once it's totally cool, by adding layers of goodness forming your own sweet sculpture.


Imperfection is what gives this cake the home-made feeling. So build it and make it your own.
Enjoy making it, it's so easy but looks and tastes like a cake from best bakery in town.


Wednesday, April 6, 2011

Coffee infused crepes with whipped cream and blueberry jam! Instant classic!

Its been several days, that I had one thought in my mind COFFEE!
Yes I needed to cook something with it, I was thinking ribs or maybe, pork tenderloin...tiramisu...boooring!!!

I do treat my breakfast seriously, we eat it almost everyday, I rather go with savory tastes: omelets, french toasts, BLT's (bacon, lettuce, tomato sandwich ) etc.
I had also an idea to make a little duel between:  french crepes, american pancakes, polish racuchy and russian bliny and later post it in here. So you guys can make them all, and decide which one you like the most (this will happen soon, but not today, so be patient please ).

So in my head: coffee, crepes, coffee, coffee, this idea blended together...EUREKA! 
I made coffee infused crepes, with blueberry jam (unfortunetly I didn't have fresh berries >.< ), all bound together with fluffy whipped cream! I love them, my hubby loved them too. He said: Instant classic.
I try to be modest, but they are heavenly good,  it all just blended perfectly together.
Beautiful breakfast all that you need, to start your day. 
And hey! for those who do not like coffee, give this recipe a chance, the coffee aroma is just in the background wondering around, stimulating your senses! Do it, do it do it! 


you need:
non-stick skillet
2 large bowls
whisk or mixer
sifter

ingredients:

2 large eggs
1 cup all purpose flour
1 cup milk
2 up to 2 and 1/2 cups mineral sparkling water 
1 teaspoon salt
1 teaspoon good, ground espresso 
1 teaspoon vanilla extract
1 cup heavy cream
1 up to 1 and 1/2 tablespoon of sugar
blueberry jam or fresh blueberries

In a large bowl mix eggs, milk, salt, vanilla extract and a teaspoon of ground espresso, use a good quality coffee
it really makes a difference. Good coffee smells beautiful and leave roasted almost chocolaty flavor.
Sift in 1 cup of flour, stir it in good so you don't have any lumps. Start adding sparkling water, 1 cup mix well, another cup mix well again. Your butter must be runny, almost milky, not thick and heavy. With the coffee bits inside, your mixture will have sexy brown dots and a beautiful aroma.


If u take out coffee and vanilla this is a perfect recipe for simple crepes, you can make any day of the week.
Many recipes call for clarify butter or vegetable oil, I do not add that inside my crepe mixture. If you use a good non-stick skillet you do not need any oil, when doing your golden, delicious treats.
I also do not add sugar, because it makes your crepes stick to the skillet and burn faster. I think your filling should be sweet enough so, you don't need to add sugar to the butter. 

Once your mixture is well blended, leave it to rest for 20-30 min. Flour expands, so your butter may get a bit thicker, if it happens just add more water. By the way, if you don't have sparkling water on hand, use a regular mineral water (Water makes crepes light and almost elastic, if you add only milk they tend to be a bit hard).
The secret to fry them is a good non-stick pan (teflon or ceramic - I use ceramic and its perfect! ). Do not add too much of your mixture on the pan, just enough to cover the bottom. Your pan has to be hot, but do not fry them on high heat. Work the mixture around, by holding the pan and rotating it around, this will help you cover the bottom evenly. When you see that the edges of your flat friend are rising off the pan, time to flip it over.
It really takes only 1-2 min on one side and 1/2 a min on the other side.


After you are done frying your crepes, beat up the heavy cream using your mixer or whisk add sugar and  whisk until nice and stiff.
Do not use the artificial stuff from the can, this is so disgusting and to make a real deal whipped cream takes so little. Do not make it too sweet, that will overpower the other pretty things going on, on your plate.
When all is ready, add your heavy cream on to your crepes, then roll'em, fold'em, flip'em and finish with a dollop of blueberry jam or a handful of blueberries.


Delicate coffee taste, with a fluffy cream and blueberry jam, that goes perfectly with coffee, don't ask me why it just does! That's a match made in  heaven. Perfect beginning of a lazy Sunday or any day of the week.
Yes kids try this at home, you will never regret that! 


Monday, March 28, 2011

Little tart - use it as a vehicle for your favourite flavors!

I really love small treats, sweet or savory. They can easy satisfy any craving.
This time I decided to make little tarts, using an universal pie crust or tart recipe called pate brisee.
The dough is extremely easy to make and is so versatile!!!
Use it to make any tart, small or big, any pie sweet or savory, perfect as any kind of quiche base. Once baked the crust is flaky and light. Pre-baked is perfect for any kind of wet filling.
I used it to create small fruity baskets, filled with a classic pastry cream- creme patisserie, that again can be used in so many different desserts like: eclairs, donuts or even Napoleons.
This treat will be perfect for any party or for a romantic dinner dessert (you can prepare it in advance), or just like that because you deserve it!


you need:


rolling pin,
8-10 small tart tins or muffin tin,
food processor or bowl and knife,
mixer or bowl and whisk,
sauce pan,
plastic wrap,
aluminum foil,
little stones or beans or coins,
sifter,
pastry brush,
1 plastic bag or pastry piping bag

ingredients:


for the dough (pate brisse):
2 cups all purpose flour
1 teaspoon salt
1 tablespoon sugar
12 tablespoons very cold butter (170 g)
1/2 cup very cold water

for the filling:
1,5 cup milk
3 large yolks
1/4 cup sugar
2 tablespoons cornstarch or potato flour
1 tablespoon all purpose flour
1/2 vanilla or 1 teaspoon vanilla extract (can use lemon extract instead)
2 cups assorted berries (strawberries, blueberries, raspberries, blackberries etc..)
1 tablespoon of any kind of jam or marmalade


In a sauce pan, heat up milk with vanilla bean or the extract, don't let it boil! In a bowl combine egg yolks with sugar, sift in cornstarch and flour, mix well. Once the milk gets to the stage, just before boiling, remove the vanilla, scrape the seeds inside the milk and start tempering you egg-starch mixture, by slowly adding milk inside and whisking it good together ( do it slowly, do not scramble your eggs! ). Next pour the mixture back into the saucepan and cook it on a medium-high heat, stirring constantly until the mixture becomes very thick. Transfer it back into the bowl, cover the surface of the cream with the plastic wrap , that will prevent it from  forming a film on the top.


When its cool, put it to the refrigerator and let it chill for at least 1-2 hr. before using it. In the meantime you can start working on your dough.

Add flour, salt and sugar to a food processor and pulse until combine (use the one with blades attachment).


Add cold butter and pulse until big crumbs start creating. Next, drizzle cold water into the mixture (I add 1-2 ice cubes to the 1/2 cup of water, just to keep it nice and cold), dough should start forming. If it holds together you don't need to add all the water inside, try not to make the dough wet and sticky.
(If u don't have food processor, add salt, sugar and flour to a large bowl and mix it together. Add butter and with a knife cut the butter into flour, until crumbs starts forming. Add slowly cold water, use hands to press it together. Do not over-work the dough!)
You will have buttery chunks inside your dough, this is perfectly fine! Once dough is formed, wrap it in a plastic wrap and refrigerate for at least 1 hr.

After 1hr. or so, when your dough is chilled nicely, roll it on a good floured surface. Make it about 1/2 inch thick (little less than 1 cm).
Use your rolling pin, to place the dough on the tart tins, next press it gently with your fingers inside the tins and trim the excess of the dough with the rolling pin.


(If you use the muffin tins, use a big drink glass to cut out the discs and place them inside the tin). Preheat oven to 350° F (180° C), get the little tarts ready for the pre-baking process, which is best for cold serving or liquidy fillings (pumpkin filling, quiche).
What you need to do is prevent the dough from forming bubbles on top and losing its shape, while pre-baking it. The best way is to cover it with parchment paper or aluminum foil and press it down with some weigh like beans, small stones or coins. (Remember to clean very good the stones or coins before using them. Try not to let them touch the dough itself)


Then insert into hot oven and keep it there for 15-20 min. For this recipe the crust is used cold, thats why I leave the tarts inside oven, uncovered on broil for 1-2 min. just to give them some color. If you plan to re-bake it with the filling inside you can skip the browning step. When your tarts are done, cool them and start filling them with delicious goodness!

Now your shells are ready, your pastry cream is chilled, time to wash and cut your berries! You can use almost any kind of fruits to make those colorful and tasty baskets, but berries are just perfect for the small size treats. Warm up the tablespoon of jam or marmalade in a microwave or on the stove until it is runny.


Transfer the pastry cream from the bowl to a plastic bag (the storage kind) snip the end corner with scissors, fill it up with the cream and you have a pro piping bag.


If you have a special pastry one, then feel free to use it. Pipe the cream inside your little tarts.


Next, garnish with berries and brush the berries with a warm jam, that will make them look beautiful and glossy also will prevent from darkening or drying out. Chill your little tarts before serving. They look as good as they taste!


Thursday, March 24, 2011

Melon sorbet with pistachio brittle

The spring is a bit lazy this year. Winter was long, cold and full of snow, thats why I was looking forward to see any signs of spring in the air. Not happening.
Rained even snowed the other day ... that's why I decided to boost up my mood and jump straight into summer! Weather outside and a lonley cantalope in my fruit basket inspired me to make a delicious sorbet, and a crunchy brittle...why not?  if the spring wanna look like this, I need to color it up a notch.


you need:
blender or food processor,
large airtight plastic container or an ice cream machine,
baking sheet,
aluminum foil,
sauce pan,
wooden spoon,

ingredients:


for the melon sorbet:
1 middle size melon/cantaloupe
1/3-1/2 cup powdered sugar (depends how sweet the fruit is )
2 shots of vodka 4oz. (50 ml)  or same amount of orange juice
half a lemon

Peel and cut the cantaloupe into small cubes, or any size that will blend easy. For this recipe you can use almost any kind of fruit (watermelon, strawberries, peaches, mangoes, raspberries etc..), just make sure that the flesh is soft and juicy enough.


To start blending add 2 shots of vodka (can be flavored vodka, rum or fruity liquor), if you wanna make a non-alcoholic sorbet use same amount of orange or pineapple juice.
When blended good, until smooth add powdered sugar and squeeze the lemon juice inside and pulse it again.
(If u don't have powdered sugar, you can easily make it, by blending regular sugar  in a coffee grinder. If u don't feel like doing it, use regular crystal sugar but make sure you mix it in well). Taste it and check if its sweet enough for you.


Transfer the sorbet to an airtight container and chill it in the fridge for 20-30 min. (the pulp must be chilled before freezing it). The texture should be firm and fluffy. (If you have an ice cream maker pour the chilled mixture into it and process according to manufacturer's directions).


Once chilled place in the freezer for 3 to 4 hours before serving.
This sorbet is perfect solo or as a smoothie with a mint garnish, or as a melon margarita base.


for the pistachio brittle:
1/2 shelled pistachios
1 cup sugar
1/4 cup water
a pinch of cayenne pepper (can omit)
1/2 teaspoon vegetable oil

Place the aluminum foil on a baking sheet, 10 x 10 inch ( about 20 x 20 cm). Use aluminum foil to make a rim if your baking sheet is bigger. Coat it with vegetable oil, so the brittle wont stick to it.
Coarsely chop your pistachios, remove the dust and fine pieces. ( If you don't have pistachios, use almonds or hazelnuts).
Add sugar and water to a heavy sauce pan, heat it up over medium-high heat. Stir it occasionally with  a wooden spoon.
The sugar will start to boil fast, now you need concentrate, because you are working with a very hot and sticky mixture. Working with sugar is not as easy as you may think. You need to boil it about 9 minutes!

First stage will look transparent and thick, next will start to bubble and get really thick. At this point you can add a pinch of cayenne pepper for a slight touch of heat. (You can use, nutmeg or cinnamon).


The last stage will come right after it and you need to stay focused, it will get golden very fast! Stir it vigorously.


As soon as it becomes brownish take it off the heat and pour onto the ready, pre-greased baking sheet. Move the sheet around so the thick sugary mixture coats it all. Sprinkle with pistachios evenly.


Let stand until hardened, about 15 min. Lightly bang the baking sheet on the table to break the brittle into pieces.
Serve it with the melon sorbet or vanilla ice-cream. The sweet and salty brittle will be a perfect companion for cold sorbet or ice-cream. MmmMMmMmmmmm